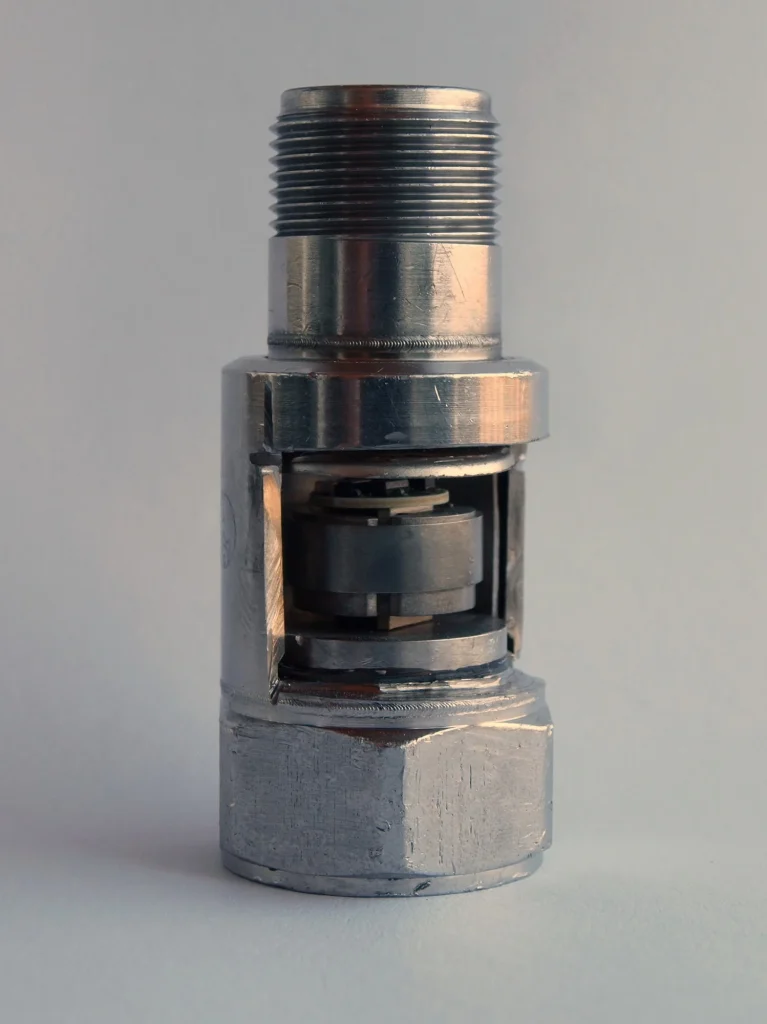
Understanding the Accelerometer
The accelerometer is a sensor that measures acceleration forces along three axes (x, y, z). In AS3 AIR applications, this sensor can be accessed through the Accelerometer class from the flash.sensors package [1]. Before implementing accelerometer features, it’s crucial to understand that this functionality is specifically supported on mobile devices and not available on desktop or AIR for TV devices [1].

Basic Implementation
1. Setting Up the Accelerometer
Here’s a basic implementation to get started:
actionscript
import flash.sensors.Accelerometer;
import flash.events.AccelerometerEvent;

// Check if accelerometer is supported
if (Accelerometer.isSupported) {
    var acc:Accelerometer = new Accelerometer();
    acc.addEventListener(AccelerometerEvent.UPDATE, updateHandler);

    // Set update interval (optional)
    acc.setRequestedUpdateInterval(100); // Updates every 100ms
} else {
    trace("Accelerometer not supported on this device");
}

function updateHandler(evt:AccelerometerEvent):void {
    // Access acceleration values
    var xAccel:Number = evt.accelerationX;
    var yAccel:Number = evt.accelerationY;
    var zAccel:Number = evt.accelerationZ;
}
2. Controlling a Car with Accelerometer
To implement car control using the accelerometer, you can use the following approach:
actionscript
public class CarController {
    private var car:MovieClip; // Your car sprite/movieclip
    private var acc:Accelerometer;
    private var sensitivity:Number = 50; // Adjust this value as needed

    public function CarController(carSprite:MovieClip) {
        car = carSprite;
        if (Accelerometer.isSupported) {
            acc = new Accelerometer();
            acc.addEventListener(AccelerometerEvent.UPDATE, onAccelerometerUpdate);
        }
    }

    private function onAccelerometerUpdate(evt:AccelerometerEvent):void {
        // Control horizontal movement
        var moveX:Number = evt.accelerationX * sensitivity;
        car.x += moveX;

        // Optional: Add vertical movement
        var moveY:Number = evt.accelerationY * sensitivity;
        car.y += moveY;

        // Keep car within stage bounds
        car.x = Math.max(0, Math.min(car.x, stage.stageWidth));
        car.y = Math.max(0, Math.min(car.y, stage.stageHeight));
    }
}
Testing on Different Platforms
Testing on iOS Devices
For iOS testing, follow these steps
2:
- Create an IPA file of your application
- Unzip the IPA file
- Drag the Payload/app file onto your device using the Xcode Organizer window
- This method allows for faster testing without requiring a full deployment cycle
Testing on Android Devices
For Android testing
3:
- Use the Android Emulator with virtual sensor controls for initial testing
- Deploy to a physical Android device for real-world testing
- Monitor the accelerometer data through debug output
Debugging Tips and Common Issues
- Null Object Reference Errors To avoid TypeError #1009 errors 4:
actionscript
// Always check for null objects
if (car != null && Accelerometer.isSupported) {
    // Your code here
}
- Performance Optimization 5:
actionscript
// Set appropriate update interval
acc.setRequestedUpdateInterval(100); // Balance between responsiveness and performance
- Battery Optimization:
actionscript
// Stop listening when not needed
public function stopAccelerometer():void {
    if (acc != null) {
        acc.removeEventListener(AccelerometerEvent.UPDATE, onAccelerometerUpdate);
    }
}
Best Practices
- Check for Support: Always verify accelerometer availability before implementation 6:
actionscript
if (!Accelerometer.isSupported) {
    trace("Accelerometer not supported on this device");
    return;
}
- Handle Background Activity: Consider what happens when your app goes to background 7:
actionscript
stage.addEventListener(Event.DEACTIVATE, onDeactivate);
stage.addEventListener(Event.ACTIVATE, onActivate);

private function onDeactivate(e:Event):void {
    stopAccelerometer();
}

private function onActivate(e:Event):void {
    startAccelerometer();
}
- Implement Smooth Movement: Add smoothing to prevent jerky movement:
actionscript
private var smoothingFactor:Number = 0.8;
private var lastX:Number = 0;

private function smoothMovement(currentX:Number):Number {
    lastX = (smoothingFactor * lastX) + ((1 - smoothingFactor) * currentX);
    return lastX;
}
This guide provides a comprehensive approach to implementing accelerometer controls in AS3 AIR applications, specifically for controlling vehicles and testing across different platforms. Remember to always test thoroughly on actual devices as emulator behavior might differ from real-world scenarios.
